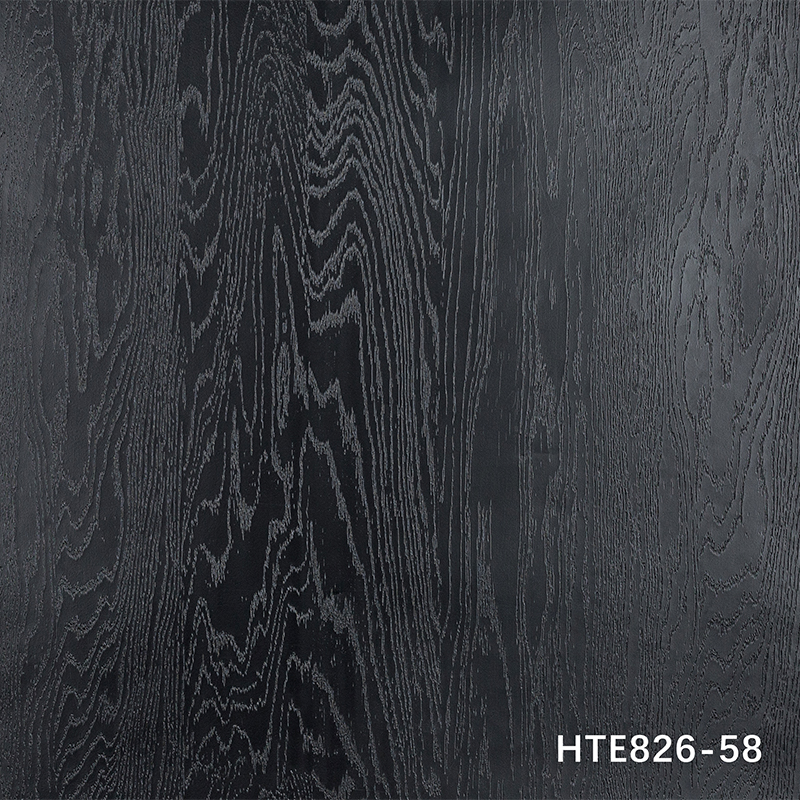
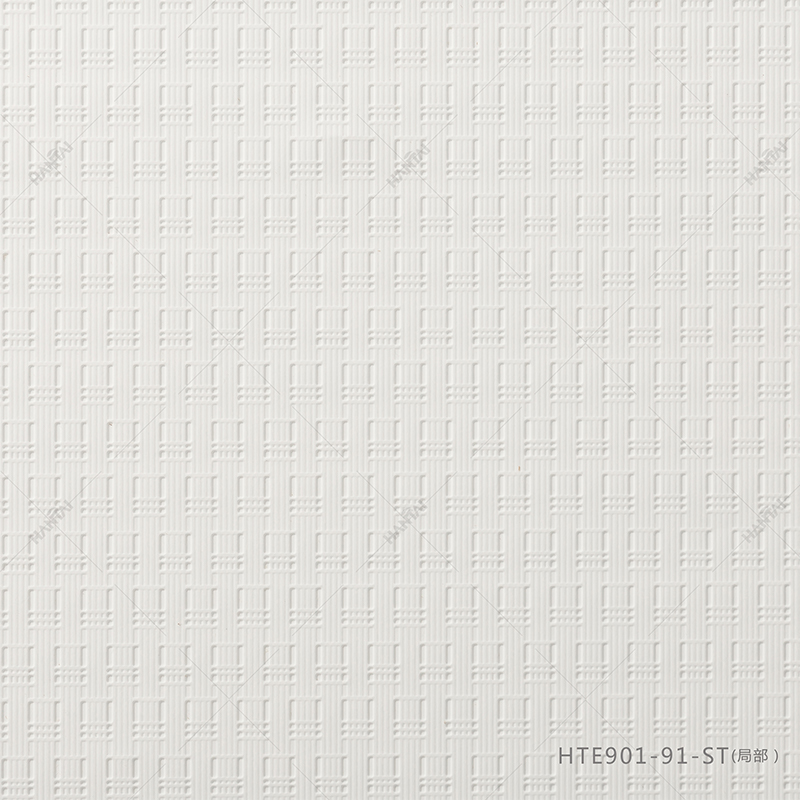
Applying furniture film is an effective way to refresh and protect your furniture without the need for costly replacements. This step-by-step guide will walk you through the process of applying furniture film, ensuring a professional finish that enhances the aesthetics of your space.
Understanding Furniture Film
What is Furniture Film? Furniture film, also known as self-adhesive vinyl or contact paper, is a versatile material used to cover surfaces. It comes in various colors, patterns, and textures, allowing you to customize your furniture easily. Benefits of Using Furniture Film
Cost-Effective: A budget-friendly alternative to refinishing or replacing furniture.
Variety: Available in numerous designs and finishes to match your decor.
Durability: Provides a protective layer against scratches and stains.
Ease of Application: Anyone can apply this with minimal tools.
Step 1: Gather Your Materials
Before starting the application process, ensure you have all necessary materials:
Furniture Film: Choose a design that complements your furniture and room decor.
Measuring Tape: To measure the dimensions of the furniture.
Utility Knife or Scissors: For cutting the film to size.
Squeegee or Credit Card: To smooth out air bubbles during application.
Ruler or Straight Edge: To ensure straight cuts and alignments.
Cleaning Supplies: Such as soap, water, and a cloth to prepare the surface.
Step 2: Prepare the Surface
- Clean the Furniture
- Remove any dust, dirt, or grease from the surface using a mild soap solution and a cloth. Ensure that the surface is completely dry before proceeding.
- If there are any imperfections like scratches or dents, consider filling them in with wood filler for a smoother finish.
- Measure and Cut the Film
- Measure the dimensions of the area you will cover with the furniture film using your measuring tape.
- Add an extra inch to each measurement for trimming purposes.
- Lay the film flat on a clean surface and use a ruler or straight edge to mark your measurements clearly.
- Cut the film using a utility knife or scissors, ensuring you maintain straight lines.
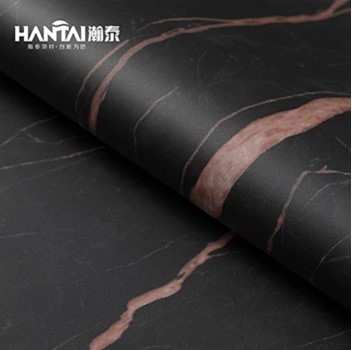
Metallic PVC Film For Interior Decoration
Step 3: Apply the Furniture Film
- Peel and Stick Method
- Start at one edge of the surface you are covering. Slowly peel back a portion of the backing from the furniture film.
- Align it carefully with the edge of your furniture to ensure it is straight.
- Press down gently as you continue to peel away the backing while smoothing out the film with your squeegee or credit card.
- Smoothing Out Air Bubbles
- As you apply the film, use light pressure to push out any air bubbles towards the edges.
- If bubbles persist, gently lift the film at that section and reapply while smoothing it down again.
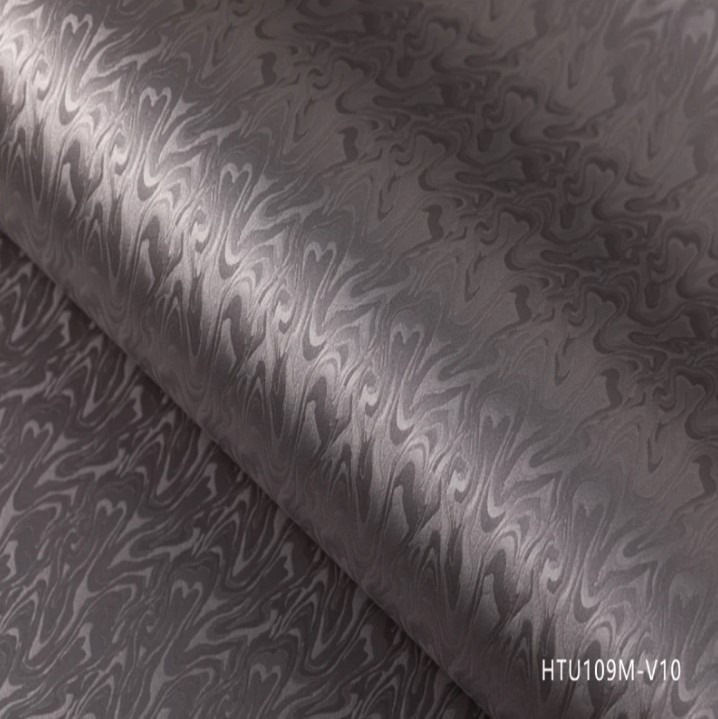
Step 4: Trim Excess Film
Once you have applied the film completely:
- Use your utility knife to trim any excess film along the edges for a clean finish.
- Be careful not to cut into your furniture; use a straight edge as a guide if necessary.
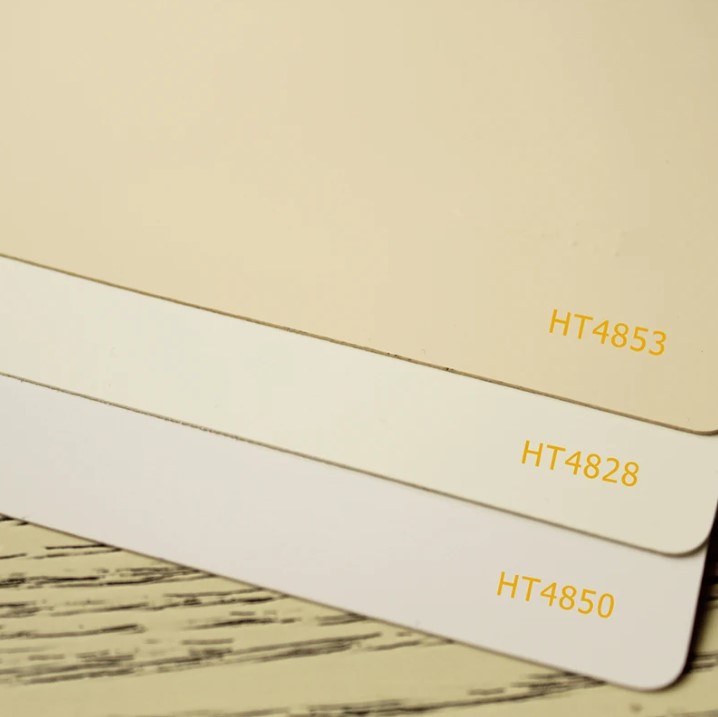
Vehicle Wraps Interior Decorations
Step 5: Finishing Touches
- Seal Edges (Optional)
- For added durability, consider sealing edges with clear adhesive or edge banding tape to prevent peeling over time.
- Final Inspection
- Inspect your work for any bubbles or uneven areas that may need touch-ups.
- Allow the adhesive to set according to manufacturer instructions before using or placing items on your newly covered furniture.
Conclusion
Applying furniture film can transform worn-out pieces into stylish elements of your decor while protecting against wear and tear. By following these five steps—gathering materials, preparing surfaces, applying film, trimming excess, and finishing touches—you can achieve professional results at home. Enjoy your revitalized furniture!


